Document Scanner
Turn a photo of a document into a clean scanned look — crop, straighten, rotate, and save as PDF
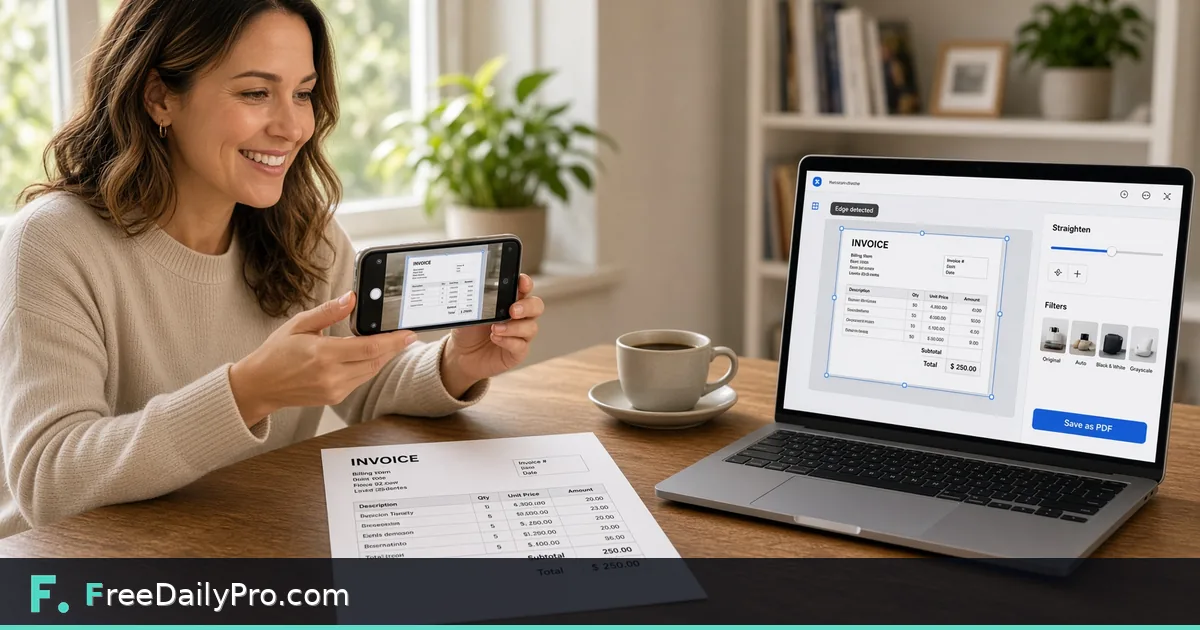
A photo of a document in, a clean, cropped scan out.
Drop a document photo to scanTap to choose a document photo to scan
or click to browseor tap to choose
Upload a photo of a document to enhance
Large files (over 50 MB) may take longer or run out of browser memory
About Document Scanner
Turn a photo of a document into a clean scanned look — crop, straighten, rotate, and save as PDF
Watch: Document Scanner in Action
- How is this different from just taking a photo?
- Automatic edge detection and cropping (so the document fills the frame instead of sitting inside a photo of a desk), plus enhancement modes that push text contrast and reduce background noise/shadows — the output reads as an actual scan, not a photo of paper.
- Does it work for scanning multiple pages of one document?
- Each page needs to be scanned individually through the tool, since it processes one photo at a time. Use the site's Merge PDF tool afterward to combine the individual scans into a single multi-page PDF.
- What if the automatic edge detection gets it wrong?
- You can manually adjust the crop corners yourself — the auto-detection is a starting point, not the only option, for documents with low contrast against their background or unusual shapes.
How to use Document Scanner
Choose a photo with the Drop a document photo to scan box, or press Take photo with camera to shoot one. In the Crop step, drag a rectangle around the page to cut away the desk, then press Crop; pressing it without dragging keeps the whole photo. In the Straighten step the tool tries to find the page edges and places four round handles on the corners. Drag any handle onto the true corner and press Straighten, or press Skip - Already Straight for a flat photo.
The last step is Enhance. Choose Grayscale or Keep Color, keep Remove shadows / even out lighting ticked or clear it, set Contrast from 0 to 120, and Rotate in quarter turns. Pick the PDF page as A4, US Letter or Fit the scan, then press Download PDF, Download PNG or Add page & scan next.
When to use it
Use it when a receipt, a signed form, a printed contract page or a handwritten note exists only as a phone photo and you need a tidy PDF to attach to an email or upload to a portal. It also suits turning a stack of lecture handouts or a few pages of a notebook into one PDF without installing a scanner app on your phone.
When not to use it
Skip it when the text must be searchable or copyable. The output is a picture of the page with no text recognition, so a dedicated text-recognition tool is the better route there. It is also the wrong choice for ordinary photographs of people or scenery, because the high-contrast treatment is meant to flatten paper and make ink stand out.
Tips for best results
Lay the page on a darker surface under even light before shooting, because the edge finder looks for the largest bright region. If your own shadow falls across the sheet, keep the shadow remover ticked; if the photo is already evenly lit, switch it off so nothing is altered needlessly. Choose Fit the scan when you want the PDF page sized to the image at 150 dpi instead of placed on a sheet with a margin.
Limitations
Straightening is a perspective correction from the four corners you set, so a curled or folded page stays curled. The automatic edge finder needs a bright page that fills roughly 15 percent or more of the photo; otherwise the handles start at the photo edges for you to move. Download PNG saves only the page on screen, while the PDF holds every added page as JPEG. Added pages live in the open tab and vanish on reload.
Privacy
The photo is decoded and enhanced on a canvas inside your browser, and the PDF is assembled there by a library that ships with the page. Nothing is uploaded and no engine is downloaded. The camera button hands off to your device's own camera or file chooser instead of opening a live video stream, so the page never watches your camera. Only an anonymous usage tick reaches the site.
How to use this app
- Take or upload a photo of a physical document.
- The tool detects the document's edges automatically and crops to just the page.
- Adjust the crop manually if the auto-detection doesn't get it exactly right, and choose an enhancement mode (e.g. black-and-white for text clarity).
- Download the cleaned-up scan as an image or PDF.
Tips
- Even, diffuse lighting (not a single direct light or flash) gives the edge-detection algorithm a much easier time — harsh shadows are the most common cause of a bad auto-crop.
- Shoot from directly above the document, not at an angle — an angled shot introduces perspective distortion the tool can partially correct but not always perfectly.
- For multi-page documents, scan each page separately, then use the Merge PDF tool afterward to combine them into one file.